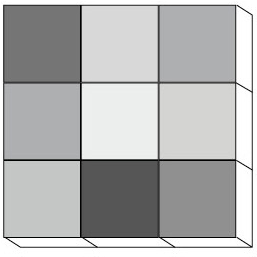
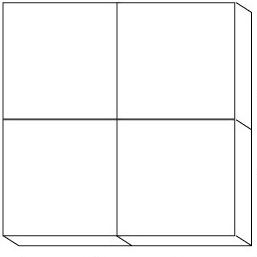
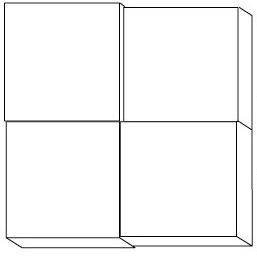
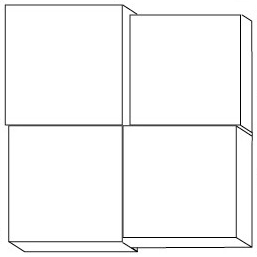
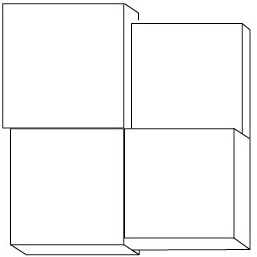
Terrazzo X, PPP/KR6
for 20 SQM (Can mix and match)
*This product is made to order, lead time is approximately 8-12 weeks.
Description
Terrazzo in the authentic Palladiana style suitable as wall and floor tiles, as well as for bespoke manufacturing of slabs, tables and other furnishing elements. The Terrazzo from the ORGANIC collection are decorative tiles that can be installed both indoors and on outdoor terraces and patios.
Product Specifications
Tile material: Portland cement, marble powder, inorganic cement pigments, sand and aggregates, cement additives and recycled marble and glass pieces
Background: Granite
Tile size and thickness (MM) :
30x30 CM / 30x60 CM / 60x60 CM — 16 MM
40x80 CM / 80x80 CM / 60x120 CM — 20 MM
Product Details
Surface Type: Glossy/Satin
Finish Type: Polished/Honed/Brushed
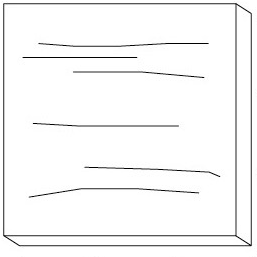
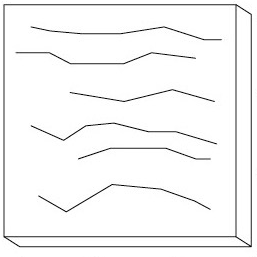
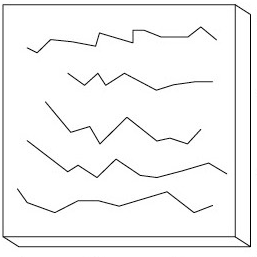
Color Variation: Level 4
Texture Variation: Level 3
Size Variation: Level 1
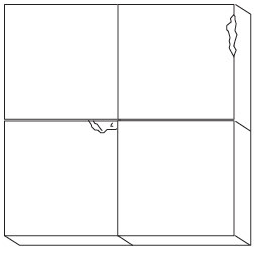
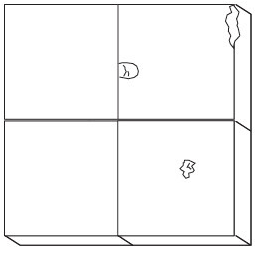
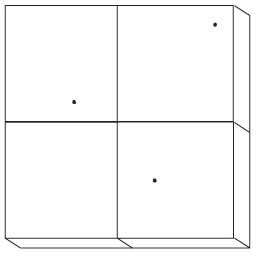
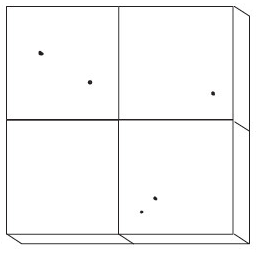
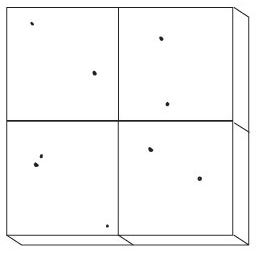
Pits / Chips: Level 1
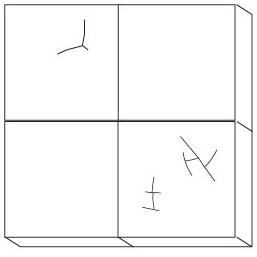
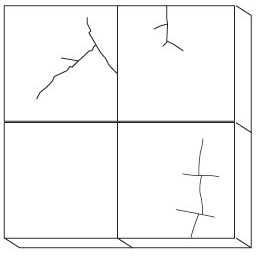
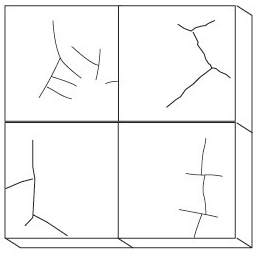
Cracks / Crazing: Level 1
Iron Spots: n/a
Specification Sheet
Composition and production. Terrazzo floors and objects are made of Portland cement, marble powder, inorganic cement pigments, sand and aggregates, cement additives and recycled marble and glass pieces. These components are mixed with water and moulded. The tiles dry and harden naturally during 3 to 5 weeks. The last stage of factory production is a surface polishing, removing 2 to 5 mm to unveil the beauty of the decorative aggregates.
The tiles are intended for decorative interior use.
Applicable standards. Our terrazzo tiles are not standardised. This is due to the production method as each tile is individually handcrafted and each order is made to measure. The laboratory tests mentioned below are applicable only to the tiles tested as delivered from factory.
The laboratory tests have been carried out on Terrazzo Marble 10 MixWhite, TB tiles using various protocols and test methods for terrazzo or cement/concrete slabs. We have mostly used the Tests for Terrazzo of interior use directive UNE-EN 13748-1, for which the tested tiles have passed/are within the standards. The results of these tests are applicable only to the tiles tested.
Dimensions and surface flatness
Difference between 4 sides of a tile: + / - 0,5mm
Thickness variation: + / - 1mm
Flexural strength and breaking load
LOMECO laboratories, 2023 (UNE-EN 13748-1)
Tested tiles: Terrazzo M10: 60x60x1,6cm MixWhite, TB
Flexural Modulus, average value (MPa): 9,3
Meets the requirements of the directive UNE-EN 13748-1
Breaking load average value (kN): 2,5
The tiles should be laid on a concrete slab or a rigid base.
Meets the requirements of the directive UNE-EN 13748-1
Slip rate
LOMECO laboratories, 2023 (UNE-EN 13748-1)
Tested tiles: Terrazzo M10: 30x30x1,6cm MixWhite, TB
Slip rate (USRV), Average value: 32
Meets the requirements of the directive UNE-EN 13748-1
LOMECO laboratories, 2023. Pendulum friction method.
Tested tiles: Terrazzo M10: 30x30x1,6cm MixWhite, TB
Test in humid conditions. For pedestrian transit areas (UNE 41901).
Slip rate (PTV), Slip rate (USRV), Average value: 33
IFA Laboratory, Germany, 2022 (DIN51130 and ASR)
Tested tiles: Terrazzo M10: 40x40x2cm MixWhite, TB
Result: total mean of inclination angle: 12,0º, Classification R10
The values of the Slip Resistance refers to the tile tested as delivered from the factory.
Impact resistance
LOMECO laboratories, 2023 (UNE-EN 13748-1)
Tested tiles: Terrazzo M10: 30x30x1,6cm MixWhite, TB
First crack height (mm): >1000
Breaking height (mm): >1000
Result of use: INDUSTRIAL USE
Abrasion resistance. Wide disk method
LOMECO laboratories, 2023 (UNE-EN 13748-1)
Tested tiles: Terrazzo M10: 30x30x1,6cm MixWhite, TB
Abrasion footprint length, average: 22 (21,5 – 22,5 – 22)
Result of use: INTENSIVE USE
Meets the requirements of the directive UNE-EN 13748-1
Water absorption from visible side
LOMECO laboratories, 2023 (UNE-EN 13748-1)
Tested tiles: Terrazzo M10: 30x30x1,6cm MixWhite, TB
Absorption from visible side (g/cm2): 0,2
Meets the requirements of the directive UNE-EN 13748-1
Total water absorption or absorption capacity
LOMECO laboratories, 2023 (UNE-EN 13748-1)
Tested tiles: Terrazzo M10: 30x30x1,6cm MixWhite, TB
Total absorption 5%
Meets the requirements of the directive UNE-EN 13748-1
Reaction to fire
The tiles are considered A1fl class in relation to their fire reaction without the need for any testing, as per the decision of the commission 96/603/CEE.

Color Variation: Level 4
Texture Variation: Level 3
Size Variation: Level 1
| CATEGORY | LEVEL 1 | LEVEL 2 | LEVEL 3 | LEVEL 4 | LEVEL 5 |
|---|---|---|---|---|---|
| COLOR VARIATION |
low |
slight |
medium |
heavy |
extreme |
| TEXTURE VARIATION |
smooth |
slight |
medium |
heavy |
N/A |
| SIZE VARIATION |
slight |
medium |
heavy |
extreme |
N/A |
Pits / Chips: Level 1
Cracks / Crazing: Level 1
Iron Spots: n/a
| CATEGORY | LEVEL 1 | LEVEL 2 | LEVEL 3 |
|---|---|---|---|
| PITS / CHIPS |
will occur |
slight |
medium |
| CRACK / CRAZING |
will occur |
slight |
medium |
| IRON SPOTS |
will occur |
medium |
heavy |
How its made
Terrazzo Finishes
After hardening, the slabs, tiles or objects cast in Terrazzo are calibrated to 2 to 4 mm, to level the surface and reveal the marble grains and decorations. Then comes the final polishing stage. 3 types of finish are possible.

Polished
The surface is hardened, the colours enhanced and the shine adjusted through floor maintenance - waxes and polishes. Standard finishing.

Honed
Satin finish surface. A micro-relief resulting from a special polishing technique. More pale and less saturated colours. Better slip resistance. Additional charges applied.

Brushed
The marble grains on the surface are rounded and slightly raised; the Terrazzo remains luminous with saturated colours. Additional charges applied.
Before you order
Sampling
Pozzilo’s products are mostly handcrafted and may vary in size, texture, color, shade, and inherent imperfections, and production batches or "lots" of artisan tiles can vary. Therefore, the images on the website photography or your sample order may not match the current lot or your full tile order.
Order Enough Tile
Pozzilo recommends grout joints for some product collections, which may be automatically calculated in the “pieces per square foot” calculation. It is the sole responsibility of the installer or project manager to measure accurately and ensure that grout joint sizes are factored into product order quantities. Have your installer advise you how much extra tile you should order. For many collections, we recommend a minimum of 20% overage to accommodate routine breakage, etc. However, some collections have a recommended overage of 20% to 30%. Please be sure to check for your specific tile what our recommended overage is. If you wish to achieve a specific design aesthetic, we recommend ordering at least 30% - 35% MORE than the project requirements to “cherry-pick” tiles.
Avoid Add-On Orders
Because of the nature of the materials and the handcrafting process, Pozzilo can never guarantee a color match from previous orders. Avoid add-on orders by having your installer or project manager to measure carefully and order enough overage.
Hire An Experienced Installer
We strongly suggest choosing installers who have shown their commitment to their craft and remained current with the latest methods and materials. We suggest requiring references and a portfolio along with a bid or estimate to ensure the installer has successfully completed work of similar size, scope, and complexity. Your installation will only be as good as your installer. Pozzilo does not offer installation support.
No Returns
Pozzilo does not accept returns on any product orders.
Installer Checklist
Design Professional/Installer Guidelines
Pozzilo offers general information about our tiles and their unique qualities and usages. Pozzilo does not provide project management or installation advice; that is the responsibility of your experienced installer.
Before: Ordering + Planning
- CORRECT TILE QUANTITY/OVERAGE. Request that your design professional/installer measure and determine the precise square footage needed for the project. (We recommend adding a minimum of 20% more to account for overage, although certain materials and collections suggest 20-30% for overage.)
- TIMING. Budget enough time for the installation with your design professional/installer for the type of tile you are thinking of installing and make sure to take into account shipping delays.
- SAMPLING. Ensure that your design professional/installer provides samples using the product you are interested in. (Please note that most of our tiles are handcrafted using natural materials, and product samples or website photography may not match the full tile order.)
- TECHNICAL SPECIFICATIONS. You and your design professional/installer must be familiar with all material specifications (on each product page). If you do not understand them, please email hello@pozzilotile.com
- GROUT. You and your design professional/installer are responsible for selecting a grout that meets your project’s specific needs. Refer to the ANSI and/or ISO standards for your project. Please note that Pozzilo does not provide specific grout brand, type, or color recommendations.
Overage/Wastage
Industry standard suggests adding at least 20% overage due to tile cuts, potential shipping breakage, or future repairs. This will allow your contractor to cherry-pick the tiles most desirable for your project.
Delivery
When the tiles are delivered, be on-site with your design professional/installer to inspect them together.
Preparation For Installation
- REQUIRE YOUR INSTALLER PERFORM A “DRY RUN”. Before installing, make sure to lay out and blend ALL BOXES of your tiles so that your variations in color, and tiles that bear chips and pits are artfully placed as you would like. The best placement of these nuances throughout your installation must be guided by you and/or your design professional to realize the best possible blend of your shipment of our limited-availability tiles. Your installation is only as good as your DRY RUN.
- REQUIRE MOCK-UP BOARDS. We urge all our clients to require creation of mock-up boards before installation. This allows you and your designer/installer to test your tile layout in mock-up form and lets you view your design in the space and lighting in which it your tiles will be installed. Mock-ups also help ensure your grout color and grout joint size are to your liking.
- SUBSTRATE. Before installation, make sure your project engineer and installer have prepared your substrate properly. Surfaces should be flat, clean, and free of any sealants, waxes or other contaminants prior to installation. Also, ensure that any drainage requirements have been taken into consideration before beginning installation.
- EXPANSION JOINTS. Confer with your installer and project engineer that expansion joints are placed at recommended intervals (these will vary depending upon your project’s needs) and are properly constructed.
At Installation
- PROCESS. Ensure that your design professional/installation team:
- Prepares tile for installation (including pre-sealing if required)
- Select the proper thinset and grout for your project, and prepare and apply the thinset mortar and grout according to the manufacturer’s instructions.
- Properly cleans and seals the tiles and grout lines as a final step, if required.
- Makes recommendations for ongoing care (keeping in mind material guidelines for the specific tile and material installed)
Installation
Terrazzo tiles must be installed on a well-levelled, clean and dry surface. Humid subsoil will cause fur deposits on the tile’s surface.
Apply the adhesive evenly on the surface the tile is being laid on, using a large-toothed comb trowel. Also apply adhesive on the back of the tile.
Position the tiles with your hands – without hammering – leaving a thin gap (1 or 2 mm, thickness of a filling-knife) for the joint. A thicker gap should be used with under-floor heating and outdoor installation (min 2mm).
Grouting
The pigments contained in coloured grout may infiltrate the pores of the tiles and stain them irreversibly.
After humidifying the tiles, the grout space should be filled with very liquid NON-PIGMENTED cement grout filler using a filing knife. Excess grout should be removed immediately with a damp sponge. Avoid spreading the grout onto the whole tile surface.
Polishing and Crystallisation
After installation and grouting, it is recommended to polish (sand down) terrazzo floor tiles, the same way you would proceed with marble or natural stone floors.
Abrasive polishing should be used to level the surface and even tone and shine of the entire floor. By removing a thin surface layer (polishing) of Terrazzo it can perfectly level the surface and even out tone , curvature and shine of the tiles/floor. This is specially recommended when installing large tiles. Additionally it can repair a floor that has suffered mechanical or chemical damage.
If you prefer to have a shinier terrazzo, the floor should be buffed with a buffing machine and neutral wax.
As with marble, Granito or other limestone floors, terrazzo can be crystallised. This simple process will harden and protect the surface of the tiles as well as enhance colour and give a shiny finish. A marble specialist should carry out this process with a buffing machine.
Treatment and Protection with Sealer
The sealer is applied after the installation and grouting of the terrazzo tiles, over a clean and dry floor. Sealer is a solvent-based sealer that limits water and oil penetration. Sealer impregnates the tile, reduces its porosity and keeps its natural matte aspect.
It must be applied with a brush or a roller on a dry and clean surface. One or more successive applications until the tile is saturated. You may buff with a fine cloth to give it an even distribution.
This process is only done once, as the sealer will penetrate within the terrazzo tile.
Do not apply too much. The excess would leave glistening stains on the surface (brush traces). Remove the excess sealer with a cloth before it completely dries on surface.
Always try the sealer on a loose tile before applying it on the entire surface, in order to measure the grade of absorption of the tiles.

