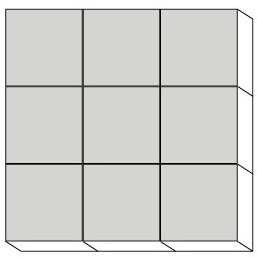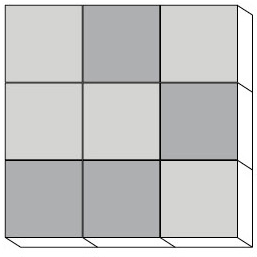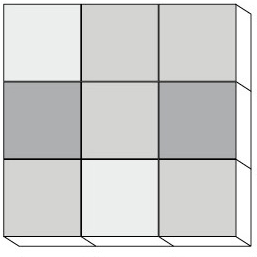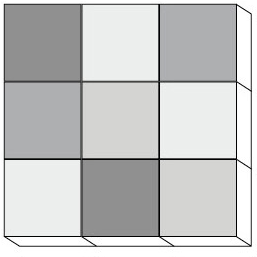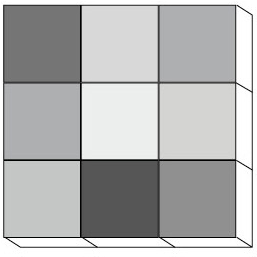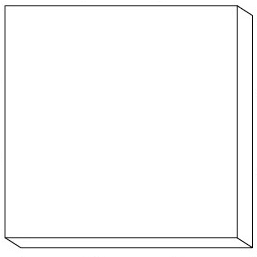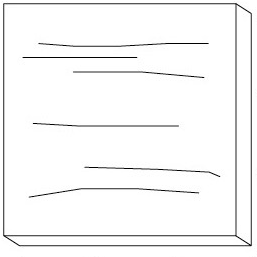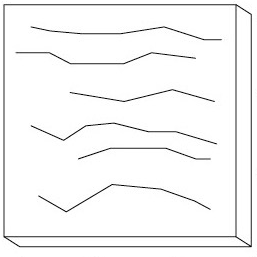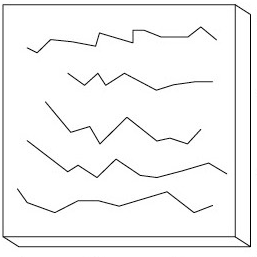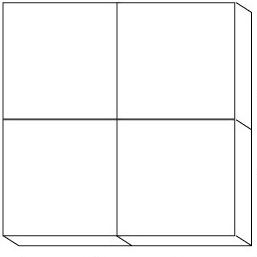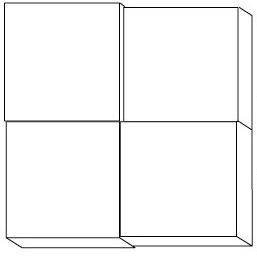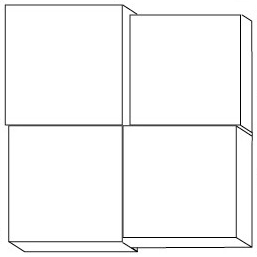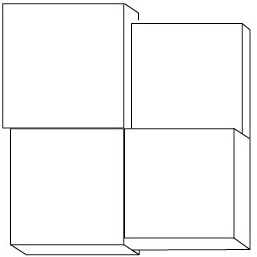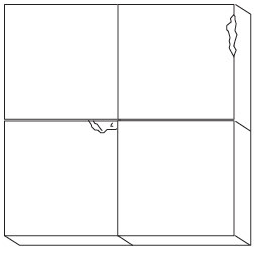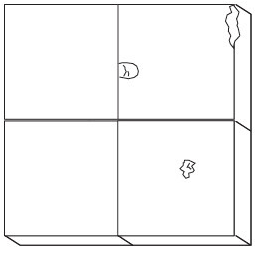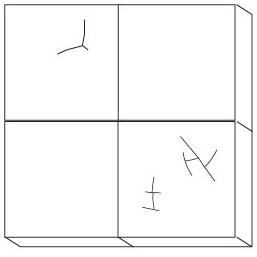

Terracotta 04, 20x20 CM
for 6 SQM (MOQ)
*This product is made to order, lead time is approximately 14-18 weeks.
Description
We have selected the finest clay colours from Morocco. These natural clays are carefully mixed and then moulded by hand in our factory in Tetouan before being sun-dried for an extended period and finally fired in a kiln.
Product Specifications
Tile material: Natural clay
Tile size (MM) : Multiple sizes
Tile thickness (MM): Varies according to different tile size
Product Details
Surface Type: Rough
Finish Type: Matt
Color Variation: Level 2
Texture Variation: Level 2
Size Variation: Level 1
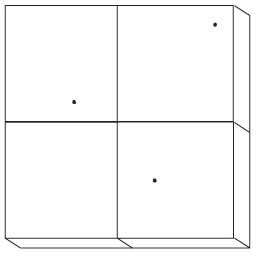
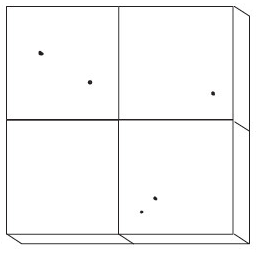
Pits / Chips: Level 1
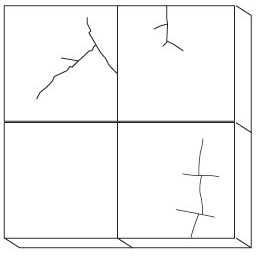
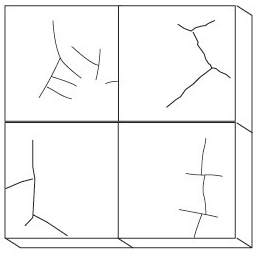
Cracks / Crazing: Level 1
Iron Spots: n/a
Specification Sheet
Terracotta tiles are artisanal tiles made from unrefined natural clay, hand-moulded and then fired. They show natural variations in colour, dimensions, and thickness. These tiles are NOT glazed.
The tolerance in size and thickness is +/- 3 mm.
This material (comparable to terracotta) is naturally porous and is delivered untreated, as the treatment needs to be applied after the tiles have been installed, grouted, cleaned and are completely dry.

Color Variation: Level 2
Texture Variation: Level 2
Size Variation: Level 1
| CATEGORY | LEVEL 1 | LEVEL 2 | LEVEL 3 | LEVEL 4 | LEVEL 5 |
|---|---|---|---|---|---|
| COLOR VARIATION |
low |
slight |
medium |
heavy |
extreme |
| TEXTURE VARIATION |
smooth |
slight |
medium |
heavy |
N/A |
| SIZE VARIATION |
slight |
medium |
heavy |
extreme |
N/A |
Pits / Chips: Level 1
Cracks / Crazing: Level 1
Iron Spots: n/a
| CATEGORY | LEVEL 1 | LEVEL 2 | LEVEL 3 |
|---|---|---|---|
| PITS / CHIPS |
will occur |
slight |
medium |
| CRACK / CRAZING |
will occur |
slight |
medium |
| IRON SPOTS |
will occur |
medium |
heavy |
How its made
Before you order
Sampling
Pozzilo’s products are mostly handcrafted and may vary in size, texture, color, shade, and inherent imperfections, and production batches or "lots" of artisan tiles can vary. Therefore, the images on the website photography or your sample order may not match the current lot or your full tile order.
Order Enough Tile
Pozzilo recommends grout joints for some product collections, which may be automatically calculated in the “pieces per square foot” calculation. It is the sole responsibility of the installer or project manager to measure accurately and ensure that grout joint sizes are factored into product order quantities. Have your installer advise you how much extra tile you should order. For many collections, we recommend a minimum of 20% overage to accommodate routine breakage, etc. However, some collections have a recommended overage of 20% to 30%. Please be sure to check for your specific tile what our recommended overage is. If you wish to achieve a specific design aesthetic, we recommend ordering at least 30% - 35% MORE than the project requirements to “cherry-pick” tiles.
Avoid Add-On Orders
Because of the nature of the materials and the handcrafting process, Pozzilo can never guarantee a color match from previous orders. Avoid add-on orders by having your installer or project manager to measure carefully and order enough overage.
Hire An Experienced Installer
We strongly suggest choosing installers who have shown their commitment to their craft and remained current with the latest methods and materials. We suggest requiring references and a portfolio along with a bid or estimate to ensure the installer has successfully completed work of similar size, scope, and complexity. Your installation will only be as good as your installer. Pozzilo does not offer installation support.
No Returns
Pozzilo does not accept returns on any product orders.
Installer Checklist
Design Professional/Installer Guidelines
Pozzilo offers general information about our tiles and their unique qualities and usages. Pozzilo does not provide project management or installation advice; that is the responsibility of your experienced installer.
Before: Ordering + Planning
- CORRECT TILE QUANTITY/OVERAGE. Request that your design professional/installer measure and determine the precise square footage needed for the project. (We recommend adding a minimum of 20% more to account for overage, although certain materials and collections suggest 20-30% for overage.)
- TIMING. Budget enough time for the installation with your design professional/installer for the type of tile you are thinking of installing and make sure to take into account shipping delays.
- SAMPLING. Ensure that your design professional/installer provides samples using the product you are interested in. (Please note that most of our tiles are handcrafted using natural materials, and product samples or website photography may not match the full tile order.)
- TECHNICAL SPECIFICATIONS. You and your design professional/installer must be familiar with all material specifications (on each product page). If you do not understand them, please email hello@pozzilotile.com
- GROUT. You and your design professional/installer are responsible for selecting a grout that meets your project’s specific needs. Refer to the ANSI and/or ISO standards for your project. Please note that Pozzilo does not provide specific grout brand, type, or color recommendations.
Overage/Wastage
Industry standard suggests adding at least 20% overage due to tile cuts, potential shipping breakage, or future repairs. This will allow your contractor to cherry-pick the tiles most desirable for your project.
Delivery
When the tiles are delivered, be on-site with your design professional/installer to inspect them together.
Preparation For Installation
- REQUIRE YOUR INSTALLER PERFORM A “DRY RUN”. Before installing, make sure to lay out and blend ALL BOXES of your tiles so that your variations in color, and tiles that bear chips and pits are artfully placed as you would like. The best placement of these nuances throughout your installation must be guided by you and/or your design professional to realize the best possible blend of your shipment of our limited-availability tiles. Your installation is only as good as your DRY RUN.
- REQUIRE MOCK-UP BOARDS. We urge all our clients to require creation of mock-up boards before installation. This allows you and your designer/installer to test your tile layout in mock-up form and lets you view your design in the space and lighting in which it your tiles will be installed. Mock-ups also help ensure your grout color and grout joint size are to your liking.
- SUBSTRATE. Before installation, make sure your project engineer and installer have prepared your substrate properly. Surfaces should be flat, clean, and free of any sealants, waxes or other contaminants prior to installation. Also, ensure that any drainage requirements have been taken into consideration before beginning installation.
- EXPANSION JOINTS. Confer with your installer and project engineer that expansion joints are placed at recommended intervals (these will vary depending upon your project’s needs) and are properly constructed.
At Installation
- PROCESS. Ensure that your design professional/installation team:
- Prepares tile for installation (including pre-sealing if required)
- Select the proper thinset and grout for your project, and prepare and apply the thinset mortar and grout according to the manufacturer’s instructions.
- Properly cleans and seals the tiles and grout lines as a final step, if required.
- Makes recommendations for ongoing care (keeping in mind material guidelines for the specific tile and material installed)
Installation
Installation should be done on a well-levelled, clean, and dry surface.
The tiles can be installed with a synthetic adhesive or a cement-based adhesive suitable for highly absorbent materials (terracotta, natural clay tiles).
Apply the adhesive cement to the surface using a large-toothed comb trowel. Also apply adhesive on the back of the tile (double bonding).
Position the tiles with your hands. If necessary, to achieve good levelling, gently use a rubber mallet.
Leave a gap of 3 to 5 mm between the tiles for the joint, to compensate for differences in tile size and to absorb any floor movement.
Grouting
The tiles quickly absorb moisture, dehydrating the grout during application. Therefore, use special grout for absorbent materials (natural clay, terracotta), preferably flexible and for wide joints.
Humidify the edges of the tiles and space between tiles, before applying the grout.
Grout should preferably be white or natural grey, as pigmented grouts can stain the tiles. Always follow the grout manufacturer's instructions carefully.
To precisely apply the mixture into the space between the tiles and avoid unnecessarily dirtying the surfaces, use a bottle with a fine nozzle.
As soon as the grout begins to set, clean and smoothen the grout with a damp sponge, then after 30 to 60 minutes, rinse with a mop and water to leave the surface as clean as possible.
Allow to dry and harden for 24 hours.
Deep Cleaning
To remove any grout residues and construction dust, and to restore the Terracotta tiles’ colour, post-installation cleaning is necessary. Use an acidic liquid that dissolves cement stains and alkaline construction residues. This should be applied with protective equipment and on a well-ventilated space.
Always test on a very small area to adjust cleaning agent action. Ventilate the room and apply with a mop or a fibre rotary disc.
Rinse and ensure COMPLETE drying of your surface before applying the protective treatment. (Complete drying can take from 5 days to over 2 weeks depending on weather conditions, room ventilation, and the amount of moisture from the installation).
Do not cover the floor with a plastic sheet as this would prevent drying. If protection is needed, use sawdust or cover with blank cardboard (without any print or pigments that could bleed).
Cleaning and Maintenance
Clean with water using only natural PH neutral soaps.
Regular application of liquid wax (diluted in the mop water when cleaning) revives the colours and helps create a patina that protects the tiles
It is recommended to use protective pads for chairs and furniture to avoid marks and scratches.
Do not cover the surface with non-breathable materials, plant pots, or similar items for long periods as this would prevent floor ventilation and could cause efflorescence or stains.
Prevent and repair any sources of constant humidity, as these can cause humidity stains and efflorescence.


